Showing posts with label Acrylic Paint. Show all posts

Monday, 25 June 2018


Morning all, and as always a big thanks for stopping by. Today Neil Walker  is sharing a colorful apron he has made using my Sailor Jim stamp, available from my shop at the top of the page or through Chocolate Baroque Here.

Good morning friends.
My turn on the Mark Gould DT this week sees me heading sea side.....
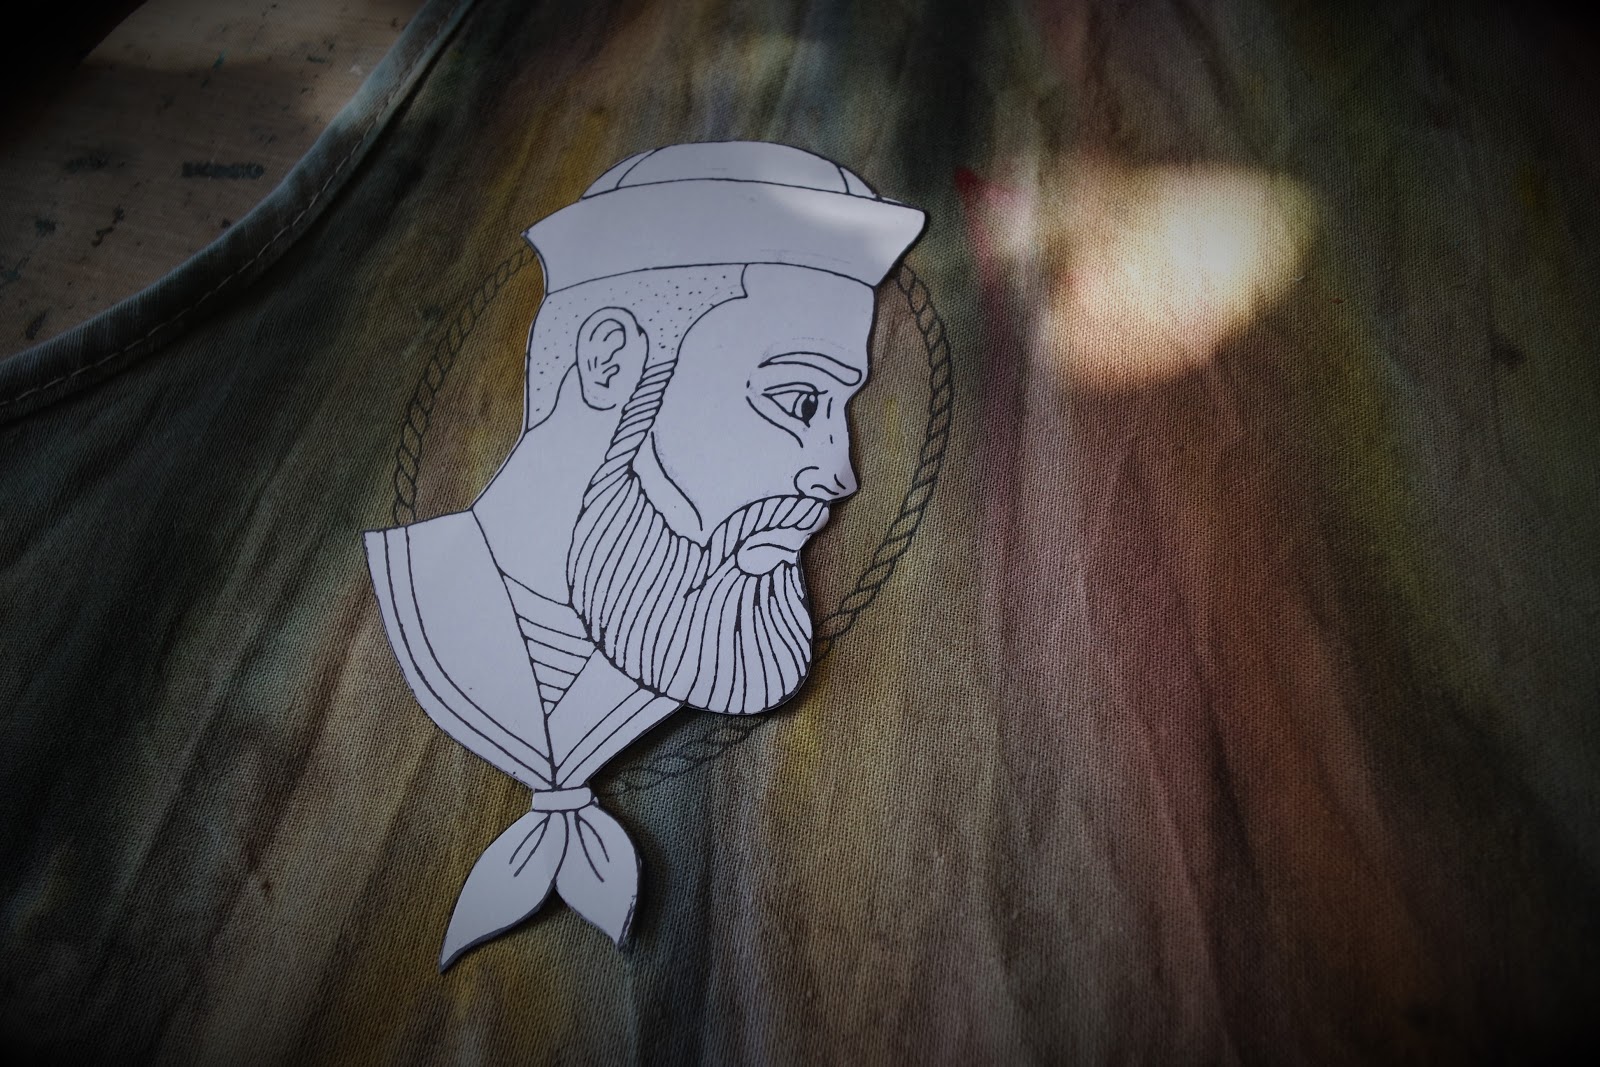
I decided to add some interest to a plain white craft apron that I have had knocking about for a while now, just waiting for inspiration. Which arrived in the form of Mark's Sailor Jim

This was a fun project to do and I took things very casually.
To start I used Infusions to add some colours blends and dried it off.


The focal image was stamped onto the fabric and onto white card (cut out to create a mask)


With the paper mask in place the background was filled in with a random assortment of my stamps from The Artistic Stamper..


Painting on fabric has it's own challenges so I just decided I was not going to get too hung up on staying in the lines.  I used DecoArt Media Fluid Acrylics to paint with. Sailor Jim is the focal point of course so I spent  more time  painting him


Then just some simple highlighting and fun to tie the background together.

I added the sentiment using a Sharpie


I hope you like it. I had a good time making it. Sailor Jim is available HERE


Thank you for stopping by, Head back next Monday to see a new creation from the Speshink DT. xxx


Tuesday, 11 April 2017

Decoart Graffiti Tutorial Happy Easter


Morning all, thanks for stopping by, It's been a busy few weeks here and I am just back from Andy Skinner's Ministry Of Mixology retreat where Kate Crane and France Papillon taught a weekend of fantastic classes and I was there to lend a hand and teach one o the make and takes on the Saturday eve.
Such a fun weekend catching up with so many crafty friends and so much creativity under one roof always leads to a good weekend away.

Today though I am sharing a Graffiti style step by step tutorial on the Decoart Media Blog, I have used lots of Decoart Media products and the new Chalky Finish White Cream Wax along with various stencils. The main focus stencils are from a new Stencil book I picked up recently after seeing a FaceBook friend post about it, Details can be found on the Decoart post.
I hope to see some of you over there. For those of you that don't know about the media blog, you will be introduced to some amazing mixed media artists sharing their tutorial posts using the Decoart Products.


As always a huge thank you for stopping by.
xxx.
If you would like to follow me on FaceBook you can find me HERE.

Simon Says Stamp Monday challenge are having a Hip Hop challenge ;) x Now I know my entry is a little tongue in cheek but I have tried to keep it festive with my Jesus Graffiti and the links between hip hop culture and the Graffiti street scene lol x.


Monday, 7 March 2016

Andy Skinner, Decoart/Stampendous Blog hop. Zoltan the Great Tutorial Post


Welcome and thanks for stopping by.
Something a little special going on today, I am teasing you with a little pic of my project for the Decoart Media DT creation for the Stampendous Decoart Blog hop that is going on this week. My tutorial post will go live on Tuesday but today Andy Skinner is kicking things off for Decoart.
All week long members from both Design Teams will be sharing work and tutorial using Andy Skinner's new Stampendous stamps and the Decoart Media line.
All the links can be found at the bottom of the post.


To take part in the blog hop and to stand a chance of winning some awesome goodies all you need to do is visit the blogs each day and leave a comment, each comment on each blog gives you one chance at winning the prizes. The competition IS open Internationally not just the USA and at the end of the week three winners will be picked via a random number generator.

For Decoart.

Monday, Andy Skinner
Tuesday, Mark Gould (me)
Wednesday, Mel Hookham
Thursday, Jools Robertson

For Stampendous.


Sunday, 9 August 2015

De Stempelwinkel - The Mystic Bisque Tile


Morning all, It's once again time for me to have a little share over on the De Stempelwinkel and today I have painted a bisque tile with Vintage side show posters as a spot of inspiration.
You can find the full pic and a little of what I did over on the blog x
I used Decoart's Media Fluids and stamps from De Stempelwinkel as well as a white Paint pen.
Thank you for stopping by x

Tuesday, 23 June 2015

Tutoria Step by Stepl - Decoart Media Canvas


Thanks for stopping by I'm so happy as today as I have my tutorial for this canvas up on the Decoart Media Blog.
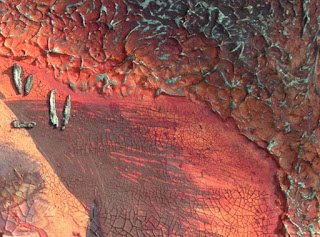
I have used the Decoart crackle and modelling paste as well as the fluid acrylics to create my canvs
Things are moving really well with the Media line and we recently started our Decoart Media Face Book Page so if you have not found us there yet, it would be great to have you join us.


Sunday, 21 June 2015

I Actually Made A Card


Morning all. Something a little different today, A card, I know, shock Horror ;)
But there is a good reason, Kelly asked me to make one for her dad as it is Fathers day in he Uk today.
Sadly my dad is no longer with us but it's nice to do something for Kelly's dad.
You can see the full card over at the De Stempelwinkel blog, if you have time it would be great to see you over there. xx
 
I would like to enter this card into a couple of challenges.
 
The Brown Sugar Challenge Blog has a monochromatic theme this week.
 
Crafting With Attitude the theme is Anything Goes.
 
Simon Says Stamp Wednesday challenge are having a Use your fave Technique or Product. My fave product is the decoart Media line and the meida fluids. 


Monday, 10 June 2013

Haunted Design House - Holey Moley,Put a hole in it.


 It's time to get your freak on ;) We are starting our new challenge over at Haunted Design House today, the theme is 'Put A Hole In It' (at least one),For the next two weeks you can enter any project you like, the darker the better ;) as long as it has at least one hole.Head on over to HdH to see what the other Minions have in store for you an remember to check back next Monday to see some more inspiration for this challenge.
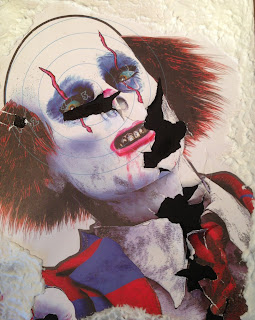
 After a little thought about how I could add holes I came up with this and dug out my paper targets from my visit to the Las Vegas gun store a couple of summers ago, I had an absolute blast and did the Zombie Hunter pack, I got to shoot 4 guns that are in pretty much every Zombie killing computer game (yes I am a nerd)This target Is my Zombie Clown target and I used a Police Issue Shot Gun to add my 'Holes'I cut a piece of ply wood to size, About 12"x16" ish and cut my target to fit, It was glued to the wood with Decoart's decopage glue, when dry the holes were showing the wood so I painted them in with black acrylic paint.I used Decoart's modeling paste around the edges applied with a pallet knife and this picture shows how it looked before any colour was added.                                       I started by applying different colour washes of Decoarts Traditions acrylic paint, I used Quin Gold,Quin Violet and Phthalo Blue. All three of these colors are transparent  so I knew the image would be seen through the paint, When the washes were dry I used the same colours only neat and painted over the modeling paste and blended the colours into the main image to tie in with the washes and to give more depth to things.
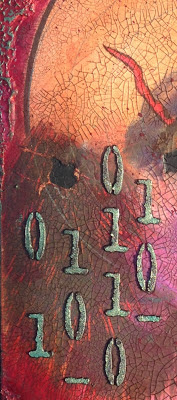
 A little bit of Dark red paint was flicked across the face to add more blood splatters. The modeling paste was high lighter with some Treasure Gold In emerald green to give some contrast to the warmer colours. Once the paint was dry I sealed the image with some matte medium and then used the Decoart one step crackle finish. With this you need to apply it really quite thick and then let it self level, I poured quite a lot of it over the main image and spread it around with a brush, pulling it in all directions and leaving it thick in places and very thin in others, some places missed completely as I wanted more of a random look to the finish, the areas with the bigger cracks are where the one step was thickest. When it was dry I rubbed some acrylic paint into the cracks and wiped away the excess with a baby wipe.
To finish off I used one of Andy Skinner's new stencils and ran some black modeling paste through it with a pallet knife. and when it was dry I used more of the Green Treasure Gold to Highlight the paste.Hope he does not cause to many nightmares ;) Thanks for stopping by it is always fun having you here. Hopefully we will see you over at Haunted Design House taking part. x

Punkyougirl are having a anything goes challenge, they are a new gothic/fantasy challenge blog just starting up with their first challenge.