

So how is everyone doing?
I know the blog has been quiet recently but that is all due to change as starting next month, I am extremely happy to announce the new Speshink Design Team will be going live with posts coming each Monday to the blog featuring makes using my New stamps available at Chocolate Baroque or through the Shop Tab at the top of my blog.
There will be a post in the next couple of days introducing the new team.
( I am sorry if I have not got round to contacting everyone that applied, I was completely caught off guard and overwhelmed with the response for the team xx )
Ok, so today's post is all about why I love the Tim Holtz Stamp platform from Tonic Studios.( Not just because it works great with my stamps ;) )
I mainly work with acrylic paints and it can be hard at times to use an image that needs to be colored over a painted surface as the paint can/will obscure the stamped details this also holds true for surfaces like design papers, and until the stamp platform arrived it was almost impossible to line up and re stamp an image you have already stamped.
( I hope I am making sense? )
The stamp platform allows you to stamp an image and then have a perfect alignment for re stamping in the same place. This lets you stamp an image, paint in the details without worrying to much about going over the lines and then re stamping the image over the painted version.
Below I have stepped out how I use the Stamp Platform.
The best thing is it even works with substrates like mdf and grey board, you just have to be careful about where you position the substrate, the thicker it is the further away from the hinge you need to work.

Start with your substrate, I have used an Mdf tag that has been covered with a Gel Plate print I made a few weeks ago.

The magnets wont be able to hold the tag down as it is to thick but you can use them as a guide for the bottom and side edges of the tag, Just be careful when you remove the tag as you do not want the magnets to move.
position the un inked stamp face down where you want the image to be stamped.

Close the lid and apply enough pressure to pick the stamp up. One side of the platform is for foam mounted stamps and the other side is for clear cling stamps.

Ink up the stamp and close the Stamp Platform and apply even and firm pressure to get a nice cleanly stamped image, I have used archival ink
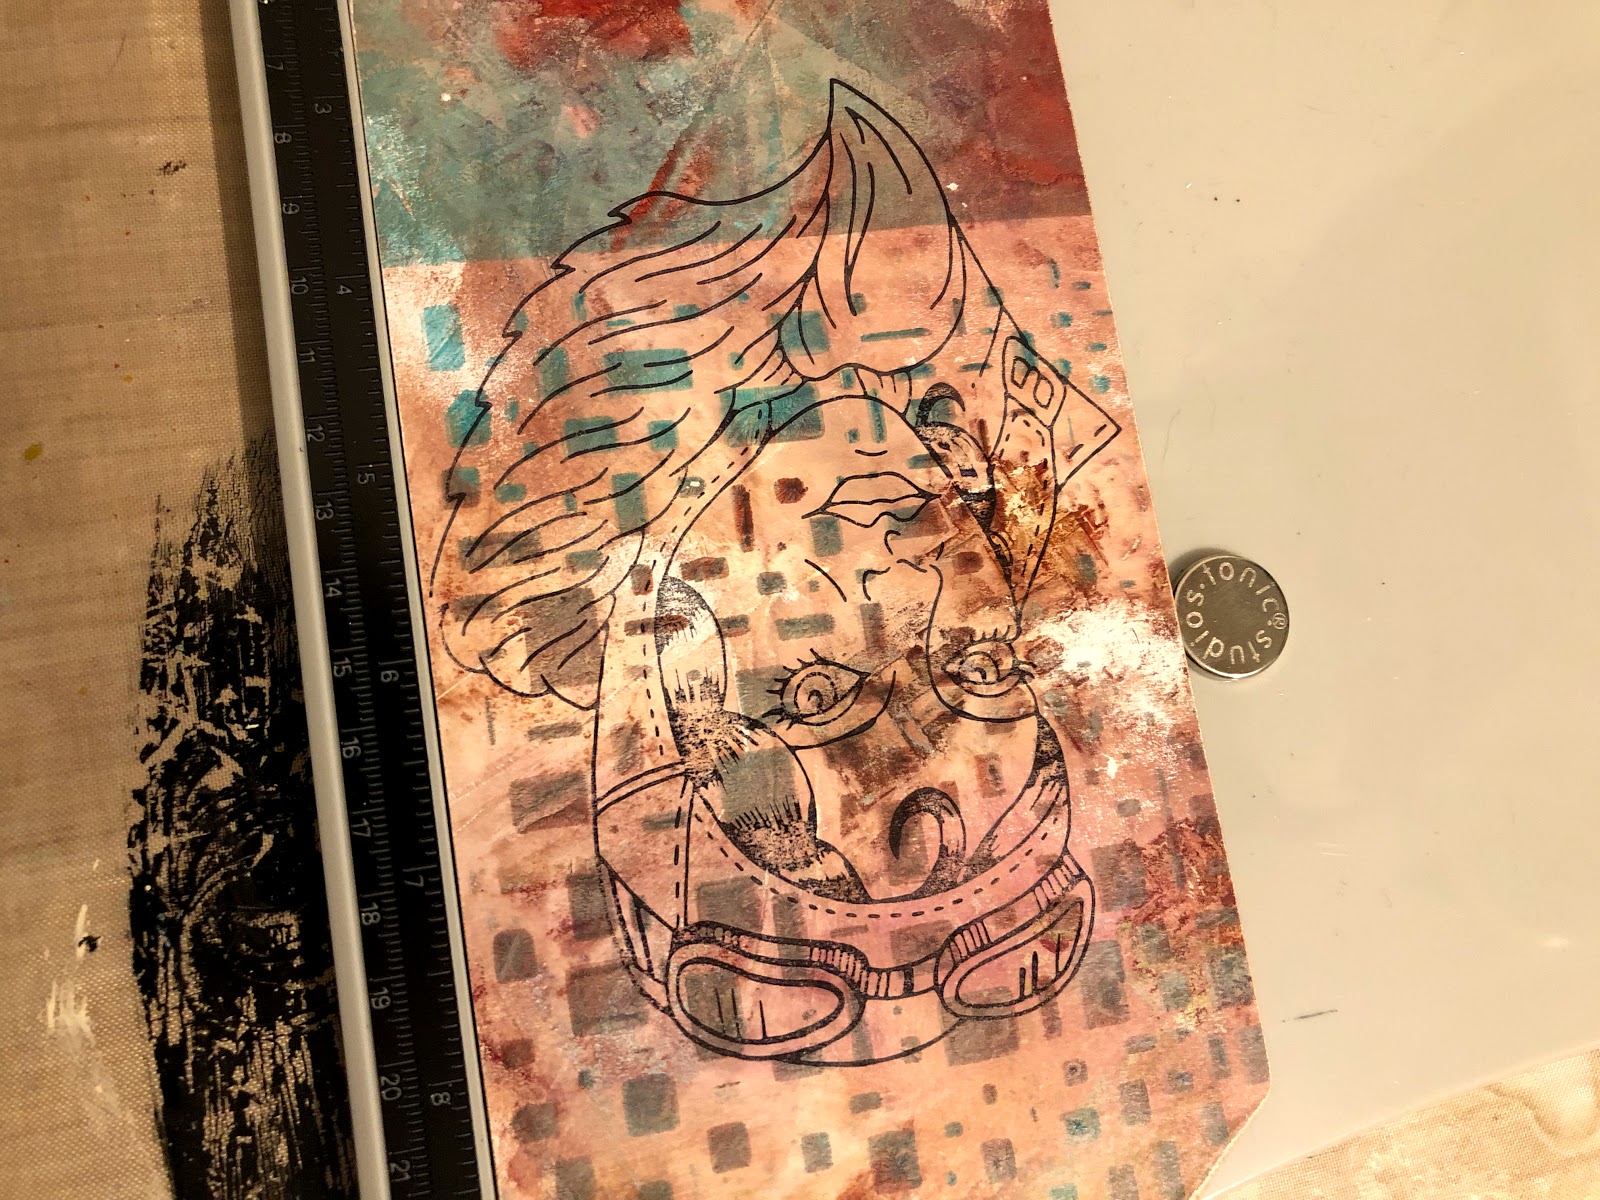
As you can see the image is visible but gets lost with the background details and colors. Don't worry, you only need the lines there to help guide you when you start to add paint to the image.

Now the fun begins ;)
Pic a medium to fine detail brush and start to fill in the design. I have used My Aviator stamp fr this tag.
You don't need to worry to much about painting ontop of the inked lines, just be careful not to go outside the lines. This process is actually easier and quicker than it may look and is quite forgiving once you get to re stamping over the top.
You can see a lot of the inked detail has been lost but its a lot easier to paint straight over the lines rather than going around them.

once the paint is dry, carefully place the tag back on to the Stamp Platform and re ink the stamp.
fold the lid back down and stamp over the painted surface.

Carefully lift the lid up and you will be left with a perfectly lined up and over stamped image.

Now I should have stopped there as I really liked the way the tag was looking but I had to keep on fiddling and I decided to stamp the word Fly to the top, this looked horrible and I had to figure out a way to save the tag.

I ended up using some of the Tim Holtz Printers Blocks to hide my botch. The details have been bought out using Decoart Media fluids to give a distressed look to them, I have also added some of Tim's mini stars that have been aged using Decoart Media Antiquing Cream.


Thanks for stopping by and don't forget to head back in a few days where I can introduce you to the New Speshink DT. I am so excited to share their work with you all. xxx