Wednesday 27 February 2013

Tattered floral's and some colour (no distress) ;)

 Welcome back and thank you for your time, Sorry for the amount of post this week it has been a productive few days and there is still one more to come on Friday, but that's a little hush hush for now ;)
 This tag was made in between drying times for my Friday project, and I new what I wanted to try just was not sure what to do. I have seen Tim Holtz is having a Tattered Floral challenge and Simon Says Stamp And Show's challenge is 'the stamp you love but don't use.I have also been wanting to try out Acrylic inks since I saw my blog friend, Paul/The artsider using them last December, the link takes you to a great tutorial he has made on how to use them.
 After seeing his journal pages I new I had to get me some and I have been sitting on them since Xmas just waiting for the right time to play.The inks I have used are from Daler Rowney, I love the intensity and smoothness of colour they give you.
 I wanted to keep my tag fairly simple so I limited myself to just 4 colours, red, yellow, orange and purple for some contrast. I started by swiping the colours over the tag in streaks just letting them blend slightly, they dry really quickly so instead of soft blending you get these nice streaky lines. I used one of my Distress ink blending foams to apply the ink.
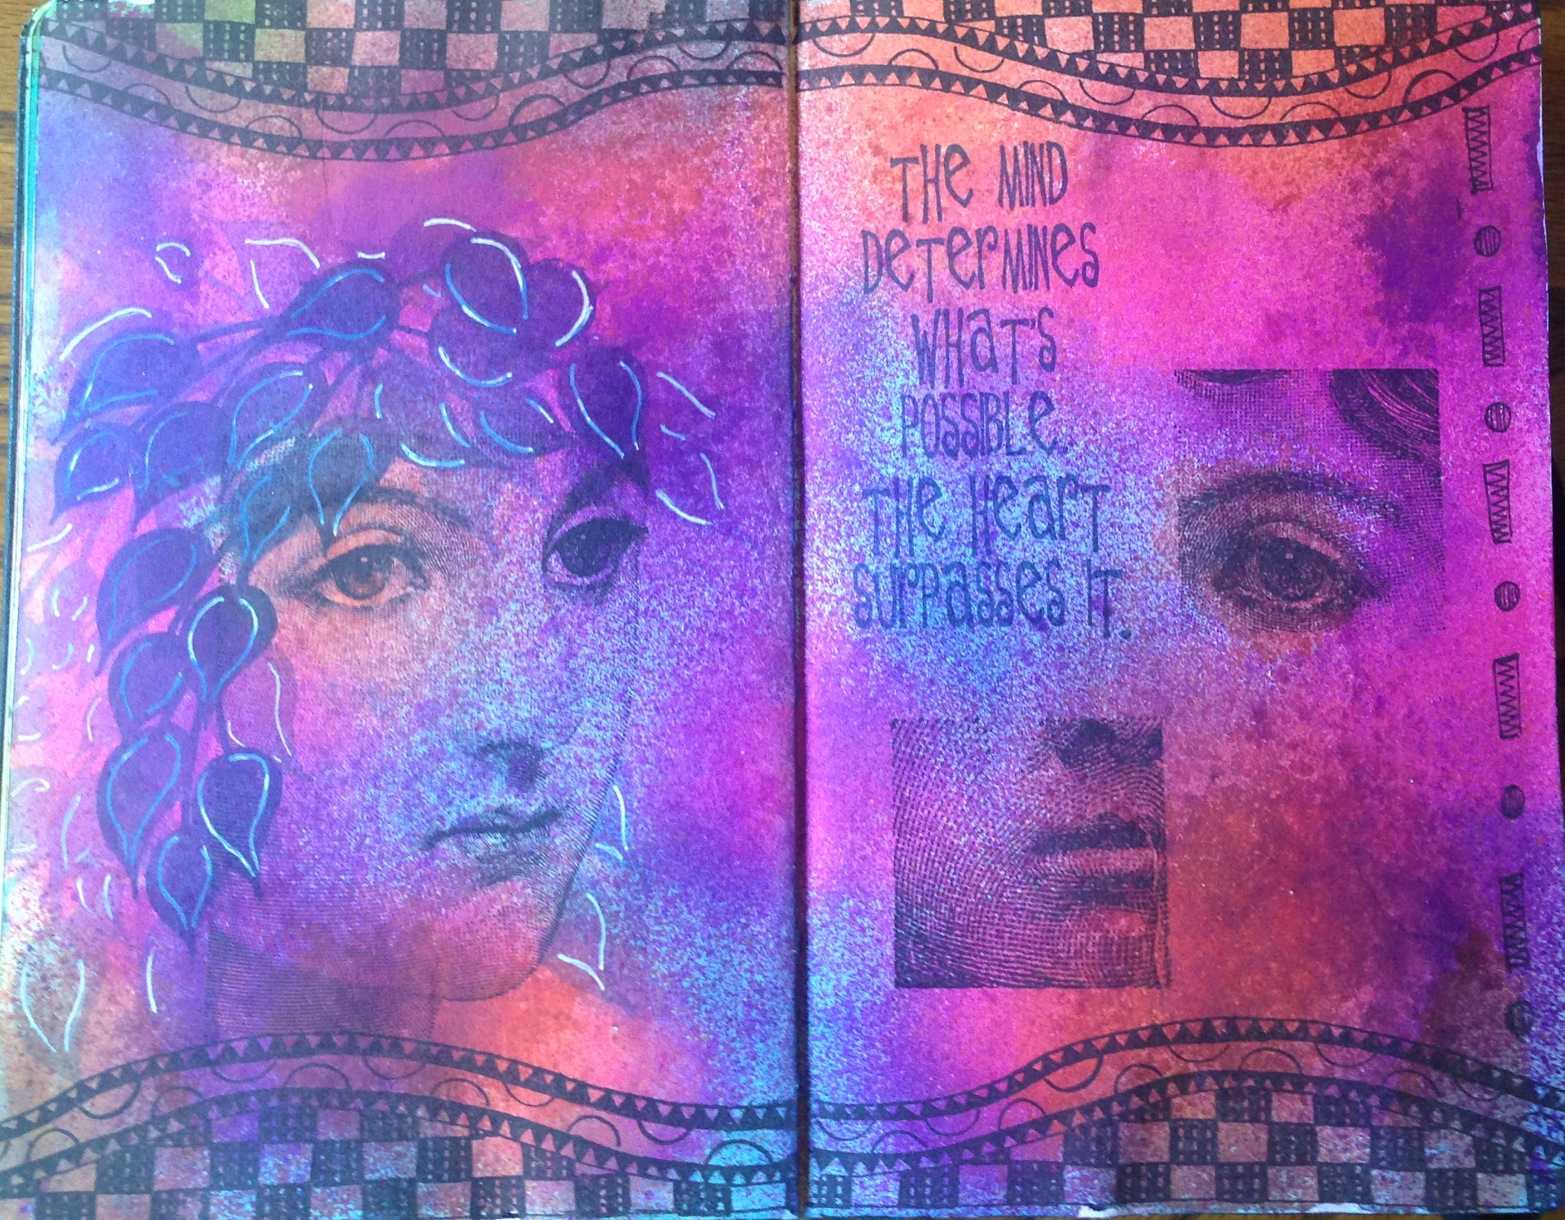
The stamped image is from The Artistic Stamper and has been in my waiting to use pile for a little while, I fell in love with her as soon as I saw her, She has been stamped in black archival and the flower and top of her dress have been coloured in with the red acrylic ink.
 For the flowers I took an A4 sheet of craft card and like the tag just swiped colour overin blocks, over lapping the same 4 colours so there was no white card left showing, I then used Tim Holtz's paisley print and the text print from the Papillon set and stamped over the whole card. It was then ran through the Tattered Floral die.The flowers have been curled and layered up and attached to the tag with a couple of brads.


 I quite like that you can see the white edges of the card on each of the flowers it sort of helps break up the intensity of the colours.
The tag was finished with the little wooden stars, Thank you Trace, that have also been painted with the inks and a little disc with the words 'live your dream' the pic is a bit poo.
the ribbon is that scrunchy stuff and again has been coloured with the acrylic inks so it all matches.

As always a great big thank you for spending your time stopping by my little blog I rally can not say it enough but it means the world to me.
Hopefully I will see you on Friday especially if you like the darker side ;)

I would like to enter this into a couple of challenges.

As I mentioned Tim Holtz is having a Tattered Floral challenge, ok I know there is no distressing, I can asure you I am more surprised than anyone ;)

And also as mentioned Simon Says Stamp And Show are having a 'the stamp you love but don't use' type challenge.

Shopping Our Stash are having a Tag it challenge.

Over at The Corrosive Challenge Blog their theme is Rainbow Bright, a colour challenge (not the horrible little cartoon from when I was a kid) I think this is bright enough ;)

I would also like to enter this into the Simon Says Stamp Challenge blog, they are having an anything goes theme.


Tuesday 26 February 2013

Fun With ATC's Vintage

So hows everyone doing? Hope you are all having a good start to the week.
 Well it's Tuesday again and we have started our new challenge over at Fun With ATC's, we had a great response last fortnight and hopefully you guys will stop on by for the new challenge.The theme is Vintage so there is plenty of scope to get creative. If you need some inspiration stop on by and check out what the awesome DT have created.
 This time round I have gone for a fairly simple ATC using the fantastic stamps from Paper Artsy and a script stamp from The Artistic Stamper. I have built up the depth by using the different coloured inks.
 The ATC was cut from mount board and coloured with Tim Holtz Distress inks in old paper, linen and pumice stone all blended together it was then given a flick with some water and dabbed dry to leave the water marks.
the script stamp was stamped in pumice stone, the buildings were stamped next with gathers twigs and then masked so I could stamp the chap over the top, he was stamped with sepia archival. The Industrial Man was stamped in coffee archival.
 I went round the edges with vintage photo and then some walnut stain to give it that aged look.To finish off I gave it two coats of clear embossing powder and added the Tim Holtz cogs.
 Well that's it for this post, nice a short for a change. Hopefully Ill see you all over at Fun With ATC's, and as always a great big thank you for stopping by, I really do appreciate you stopping by. xx

I would like to enter this in to a few challenges.

The challenge over at the Anything Goes Challenge they are having a make it manly challenge.

Cards Und More are having a non cute and brown challenge.

The Craft Room Challenge  are having a 'something for a man' theme.

Lexi's creations are having a mono chromatic challenge. Hopefully this counts.

Sunday 24 February 2013

Anything But A Card '13'

Good morning everyone I hope your Sunday will be a good one.A big welcome to my newest followers and a thank you for stopping by.
 Today over at Anything But A Card we are just starting week two of our '13' challenge, Its our 13th challenge and we want to see all your 13 inspired creations, now it can be superstition related, you can use 13 brads or jems etc a tag for a 13 year old, let your imagination go wild.
 For me the number 13 brings to mind Tattoo's, it's one of those old school classic designs so I made a tag brining together several classic tattoo designs.


The tag was cut from some mount board with my Tim Holtz die and covered with some Graphic 45 paper from their oriental range, they have some stunning papers.
 The Candy Skull image is from Dilly Beans and has been coloured with copics fussy cut and clear embossed twice.
 The banner and swallows are from Little Musings, I did a search for tattoo design digi's and these came in an set.Again these were coloured with copics, fussy cut and clear embossed.The banner comes empty so I just sketched on the 13.
The ribbon was stained with Picked raspberry distress inks and was threaded through a metal eyelet with a leather thong.

So get your thinking caps on and head on over to Anything But A Card we would love to see you over there. And whilst you are there you can check out what the rest of our awesome DT have created for the number 13.


I would like to enter this into a couple of challenges.

Sparkles and Glitter are having an 'All the things you love challenge, now if you meet me you will see I love tattoo's


Monday 18 February 2013

Haunted Design House 'Gruesome Guardians''

Hello again and thanks for stopping by, welcome to my new followers and welcome back if you have been here before, it's great to have you stop by.
 Well a new week and a new challenge has started over at Haunted Design House the theme this fortnight is 'Gruesome Guardians' now this can be anything from Gargoyles and Dragons all the way to Griffins and Fairies, it's up to you and how you want to interpret the challenge.
 I decided to go with Gargoyles as my theme and I decided to make a little plaque using some techniques I picked up In an Andy Skinner workshop.The wooden plaque was painted with acrylic paints and I used an image transfer technique using Matt Medium with my Digi Image that I got from Delicious Doodles (owned and designed by our own Teri from hdh) I re-sized  the image to fit the plaque, I also narrowed the image so he would fit better.
 I used the 2 step crackle medium from Deco art over the top and rubbed acrylic paint into the cracks when it was dry.
 for the frame I used the Deco art crackle paste applied with a pallet knife fairly thick. This was then painted with acrylic paints and dry brushed to bring out the detail.
 This photo shows I started playing with lighter colours, again it is acrylic paint for the base and a mix of washes and dry brushing, I like the look and how it came out, more of a dried mud feel than rock/stone, but it did not feel right with the image so I went with the black finish.
 The number plate was added and is from Tando Creative, they make lovely chip board pieces, this was a more ornate book plate before but I trimmed the fancy stuff off to leave just the fram, it was coloured with rusty hinge and walnut stain distress inks quite liberally and then coated with tea dye distress embossing powder, I then almost over heat the powder, let it cool and rub off the

release crystals, it leaves a nice easy rusty look. the number has been stamped using the text stamp from Tim Holtz's Papillion set and then coated with glossy accents crackle glaze, when it was dry I used some walnut stain re inker to stain the cracks.

 Thanks again for stopping by, as always I love reading your comments and am truly grateful for them.
 So if you feel like letting your darker side come out to play we would love to see you over at Haunted Design House whilst there you can check out what our awesome DT have created for inspiration, and remember we are now a fortnightly challenge so there is twice as much time to stop by and play along. head over there next Monday for more inspiration.


Thursday 14 February 2013

Playing with stamps journal page

Thank crunchie it's nearly Friday So how's your week been?
 Thanks for stopping by, Just a very quick short post today, I have been playing on my little Mole skin art journal. I have been playing with my new Tim Stamps and Dyan Reaveley around the edges stamp sets.
 the pagers were sprayed with Dylusions inks and then blended a little with some Distress ink pads, the face images and doodles have been stamped in black archival ink.The leaves and sentiment have been stamped with both a light and dark blue archival ink with a little hi-lighting with my white jelly pen. I really like how the hair has come out, the leaves are a mix of 4 different leaf images over stamping and masking to get them where I wanted.

Told you it was quick today. As always a big thank you for stopping by x

Tuesday 12 February 2013

Fun With ATC - Red

Well another two weeks have passed, time is really flying by right now.
As always a big thank you for stopping by and a welcome.
 It's that time again over at Fun With ATC's to start a new challenge, the theme this fortnight is 'Red', now with Valentines coming up you can go with hearts and love or ignore the festivities altogether and create anything you desire as long as red is a theme, head on over to see what the amazing DT have created this time round.
 I had the idea for this ATC a little while back, I wanted to have a go at creating an ATC with a pop out section, I have also really been wanting to use this embossing folder, this seemed like the perfect challenge to give it a try.
 I started by cutting ATC blanks from mount board and craft card, I then used the movers and shapers heart die to cut the heart out of both cards. I used the Tim Holtz reflections numbers stamp and stamped the top face of the embossing folder, I then ran the craft card ATC through the embossing folder, you can see the numbers come out in the low points of the ATC and leave the raised areas clear.
Once that was done I glued both the heart and the main piece to their mount board partners with glue n seal and coloured them with distress inks, starting with the lighter blues and reds and working through to the darker shades.I also went around the edge with the black. Both pieces were clear embossed twice and a couple of brads were added (thanks Suzanne)
 It has been finished of with a Tim Holtz word tag that has been tied with some string. The phrase reads 'Possibility begins with imagination' for me it was quite fitting as this ATC was already finished in my mind before I started.
Thank you for stopping by, Hopefully I will see some of you over at Fun With ATC's.

I would like to enter this into the challenge over at ATC's with attitude their theme is 'Valentine/Anything Goes'

Lexi's Creations are having a 'Valentine/Love' challenge

Saturday 9 February 2013

Anything But A Card - Share the love

Hello again and welcome back, thank you for stopping by.
 Today I have my DT piece for Anything But A Card and our challenge is 'Share The Love'. Obviously with Valentines day just around the corner we are after seeing your crafty makes, it can be anything heart or love related just as long as it is not a card.Head on over to check out what the rest of the DT have created for inspiration.Now I am a little early but I am out all day tomorrow on a crafting class and do not understand scheduled posts.
 Right, my better half has been banned form my blog till after Valentines day so I can share this with you.    Now I hate making cards so this year I decided to make something a little different instead, although I don't think I will be able to find an envelope for this.A little while back I saw a picture frame done by my blog friend Alison and knew I had to have a go.
 This started out as a plain wooden frame, about 6x6, I painted everything white with Paper Artsy fresco paints and when dry I used a couple of stencils and some dream weaver paste to give the texture.When the paste had dried I used the Distress Inks Gathered twigs and Walnut stain to add some colour to the raised areas and to the edges, I also stamped with the Tim Holtz honey comb stamp, the stamped area was then sanded back to leave more of a ghost impression.
 The inside of the frame gave a little trouble as I was not sure how to add some contrasting colour, I started out using the Paper Artsy pealed paint technique but it just did not look right and then I remembered I had some burlap that a Bloggy friend sent to me (thank you).
 The heart was a plain wooden heart and again painted with a couple of coats of white fresco paint, I used some of Tim's tape with the butterfly's on and stuck it down using some decopatch glue, this also helped seal the heart. It was finally given a coat of the Distress crackle in clear, thanks to the decopatch glue base you can then heat dry straight away and get cracks instantly rather than waiting, also it does not peel off due to the 2 layers of paint and layer of glue, thanks Andy Skinner for this tip/technique.Some brown acrylic paint was rubbed into the cracks and wiped back.
To finish the frame of I added one of Tim's word tags. 'Know in your heart you are loved'  quite a fitting sentiment for the GF.
 All I have to do now is think of something to write on the back and Im all done.
 As always it would be great to see you over at Anything But A Card


I would like to enter this into the challenge over at Simon Says Stamp Challenge their theme is 'have a heart'

Over at the other Simon Says challenge, Simon Says Stamp And Show their theme is 'ever after' Now its mainly a fairy tale theme but this has been made for my Princess ;) and for our happy ending x

Dilly Beans are having a hearts challenge.  I have used the hexagon stamp on the frame

I have been inspired to enter the Paper Artsy challenge, I love their products and use their paints quite a bit, I have used their paints to alter the wooden frame.

The Crafty Cardmakers are having a 'Vintage Love' theme


Monday 4 February 2013

Haunted Design House Prose of Poe


Welcome back and thank you so much for stopping by, weather it's your first time or you have been here before, it's great to have you visit.
 Today we start our new challenge over at Haunted Design House Its to be inspired by the 'Prose Of Poe' Romantic or Lunatic??? you decide, then head on over to join in and to see what the DT have created, remember to check back there next Monday for more inspiration as our challenges are now running for 2 weeks so you have lots of time to take part.
 I decided to create another fold out book, I posted a pic of one I made in a class a week or so ago and I decided to make one with more of my style/taste.I have used the
The class was at my local store and hosted by Kathy Byrne its part of a mini album course my GF and I have signed up to, the main fold out book has been cut and folded from one piece of 12x12 card.
The top pic is the book un folded, there are little compartments for sliding a tag in and I made a section to hold an ATC as well.

This is the cover, I added some spikes and die cut letters and skull and cross bones.


You unfold it once and you can see the compartment for the tag and also a little card I made quickly with one of the winged heart stamps from smeared ink its available in digi but this was from a rubber stamp they released to the rubber club ;)
its been coloured with distress ink pads and distress markers.


 Un fold it again and you can see the ATC I made using the Poe image from The Octopode Factory
there is also an image of Poe I printed out and aged up, the top flap has the first verse from The Raven, A classic and probably one of my fave poems from Poe, again this has been aged up with distress inks.
The tag has been coloured with Dylusion sprays and then gone over with gathered twig distress inks to dull it down, I over stamped with the big text stamp from Tim Holtz Papillion set in white and then with black archival I used my stampotique stamp. I added Poe and Lenore to tie in the theme.

Just a close up of the tag and ATC.

Again thanks for stopping by and hopefully I will see you over at Haunted Design House.


I would like to enter this into the challenge over at Quoth The Raven, Nevermore their challenge is anything goes, I was determined to take part in their challenges this year and have actually managed three entries into their first challenge of 2013

I would also like to enter this into the challenge over at Smudgy Antics they are having a gate fold challenge, ok this might not be a true gate fold but I do very little paper crafting and I don't make cards so this is as close as I can get lol.